Showing posts with label middle ages. Show all posts

Wednesday, January 28, 2015

The Story of Stained Glass

 We have enjoyed our study of the Middle Ages. We are starting to wind down and head into the Renaissance era, but before we did I wanted to do one more art project. 
Trying our hand at stained glass art was fun last week. Today we made "stained glass" luminaries.

 The book, The Story of Stained Glass, was just the right length to read aloud before starting our craft.  It gave us the history of stained glass, the purpose of stained glass and how making stained glass has changed over the centuries.
All you need for these luminaries are:
plain jars
Mod Podge
tissue paper
foam brushes
 The first step is to make a design by cutting up and arranging the tissue paper.

When you have the tissue paper ready, start slapping on the mod podge onto the jar.  
Arrange the tissue into its previously planned design.
 Kim had a plan, and that was to have a nice big
"k" on the front of her jar.

Luke's candle looks like a Syracuse basketball inspired luminary.
We made luminaries in the past:
You can see Halloween luminaries  and 

Wednesday, January 14, 2015

Stained Glass Art

The Deliberate Mom
 We have been studying the Middle Ages and yesterday we learned about the importance of stained glass windows.  The windows didn't just present the most beautiful artwork most people would ever see, but they were used to tell the stories of the church with pictures of bible stories and saints for the illiterate. (Which was the great majority of people during this time period.)
We started by finding a picture we liked in a coloring book.  
Next, we covered the back of the picture with a thick layer of pencil.
 Tape the picture onto watercolor paper with easily removable tape.
Trace the image onto the water color paper.
 Luke's shark
 Next, we took regular Elmer's white glue, emptied 1/4 of the glue into another bottle and then added black tempera paint.....shake well. (It took a lot of shaking to get the black paint mixed into the glue).
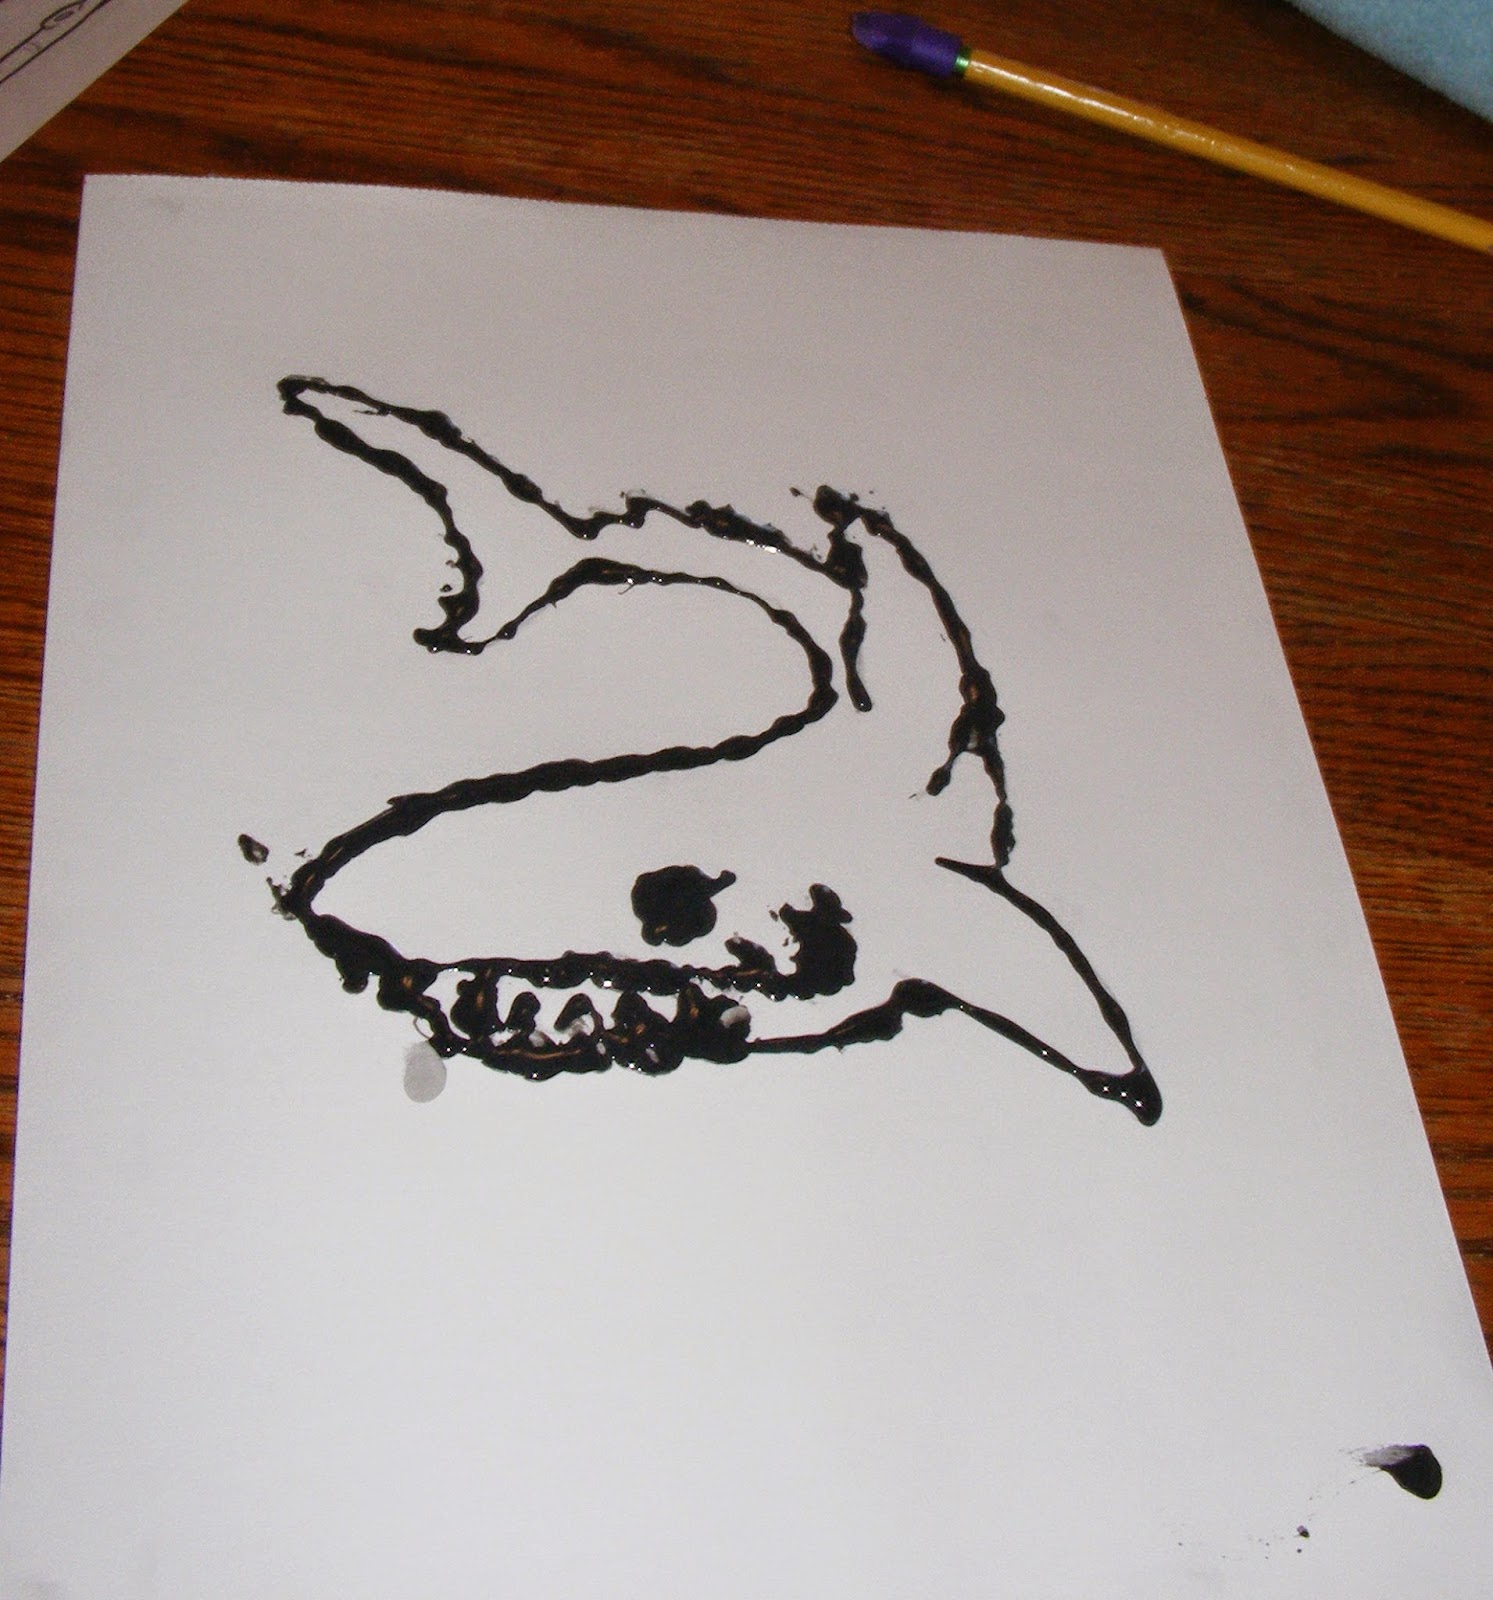
Trace over the picture with black glue.
 Luke's shark outlined with glue. It took several hours for the glue to dry.
 Kim chose a monkey.
 We then added straight glue lines, freehand, to the paper around the main image. 
 Using watercolors, fill in the spaces...we used bright colors for the border.  The black glue is a barrier between colors. 

 These came out so awesome!! The kids were able to make them all on their own.  


Here you can see the raised glue....This was a fun project which we will definitely make again.  
I'm thinking a heart in the center with warm colors in the heart and cool colors for the border.