Showing posts with label homeschool. Show all posts

Wednesday, October 26, 2016

Autumn Luminaries

 It's art time in the little house.
  Today we made autumn luminaries.
  I made these way back when, with a different bunch of kids...it was the first time Kim and Luke made luminaries.
 This is a very low cost project with a big payoff.  You just need modge podge  (or watered down white glue...much cheaper than modge podge).  A glass "candle holder". Today we used real glasses that were $.99 each. Tissue paper.  Everyone has tissue paper in the craft closet, and  beautiful leaves from a Central NY autumn. 
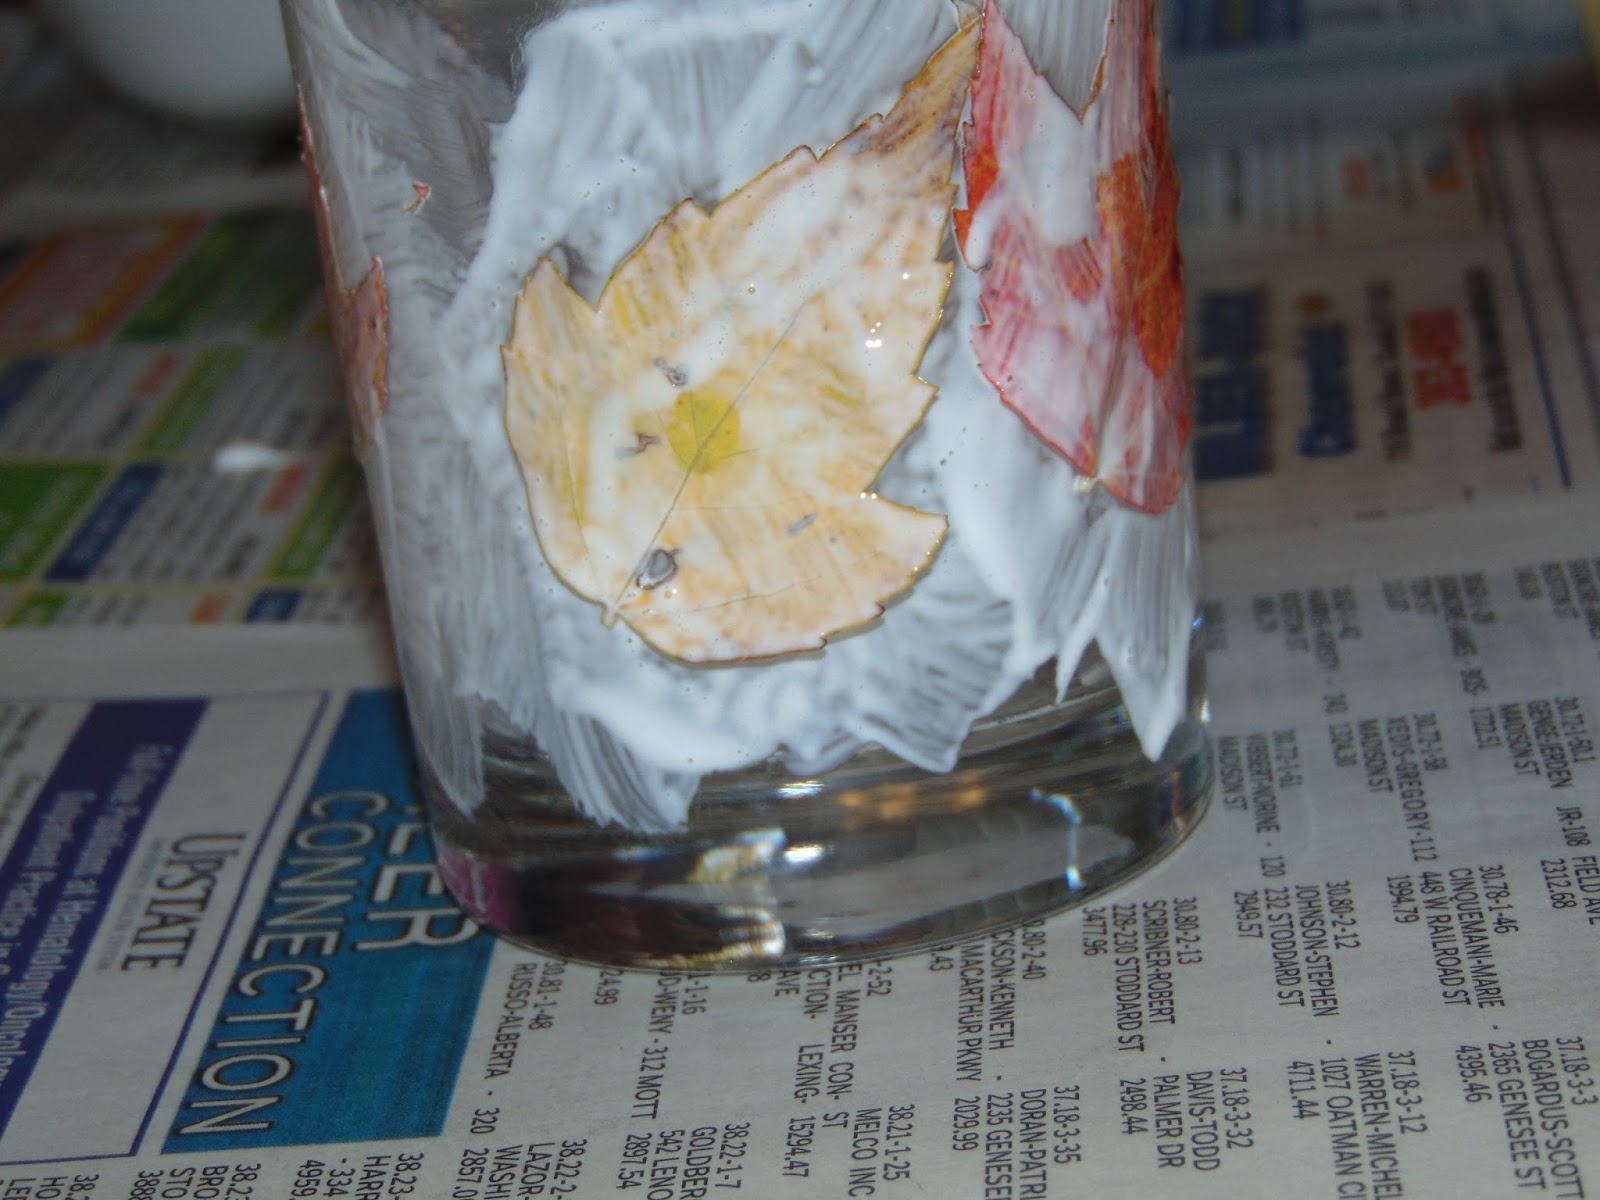
 We glued the leaves onto the glass first.  Put a layer of glue onto the glass before placing the leaf on the glass. Once the leaves are set.. begin adding tissue paper. 
 Cover the whole glass with tissue paper. We used three autumn colors, but in the past we have used one color and that also turned out pretty.
 I had to add this photo because I want to remember what Luke thinks of touching the glue!
 We added beaded stickers to the glasses after all the glue had dried.  I found with at Walmart for $2.87,  The stickers were the most expensive part of this project. 
Add a votive candle to the glass...
I hope everyone is having a wonderful fall.
Tomorrow we have a weather forecast predicting 2 inches of snow.....winter is on the way!

Monday, October 10, 2016

Homemade Rosary Holders

 We found a great activity for a chilly afternoon over at Catholic Icing.
The result were beautiful for a VERY low cost. 
 We made decoupage Rosary holders. 
I bought wooden plaques at Walmart for about .50 each. 
I had tissue paper in the crafting stash.
The most expensive item was the modge podge... I could have used watered down white glue, but I want to make autumn luminaries so I will be using the modge podge for that.   
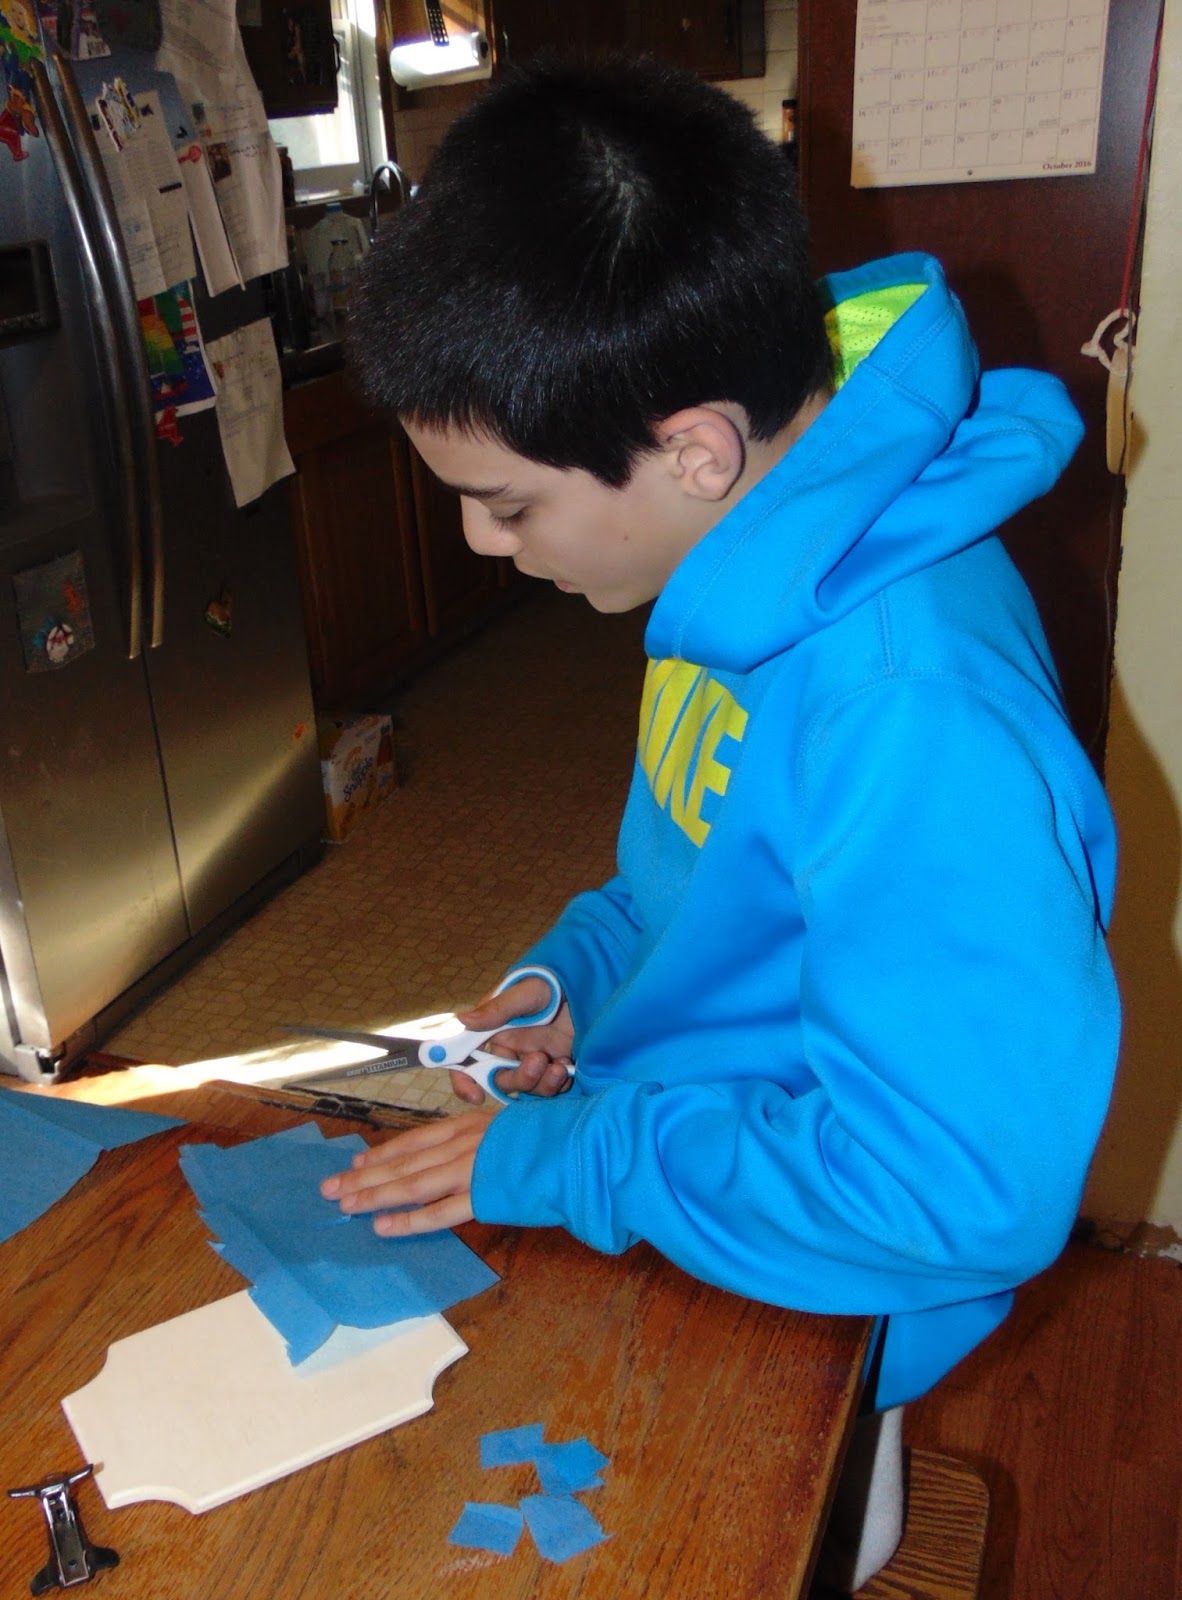
 The first step was to cute tissue paper into small shapes and painting the modge podge over the wood and the tissue. 
 We then picked images from the web.  I printed these out, but you could use old religious greeting cards are images from Catholic "junk" mail. 
 Then we  glued the image onto our plaques and covered the pictures with modge podge.  
 The results were just beautiful.  
I forgot that I also bought little screw in hooks to attached to the bottom of the plaque.
These were $1.98 at Walmart for a package of 10.
 A beautiful place to hold the kids most precious Rosaries.  
Make sure to check out Catholic Icing for many more family activities.  

Thursday, March 31, 2016

The Naked Egg Experiment

 This is an oldie but a goodie.  But, with so many kids, and so many science experiments, I didn't realize that these two hadn't done the "naked egg" experiment. 
All you need is a jar, a raw egg and white vinegar.
Put the egg in the jar and cover with white vinegar.
 Bubbles immediately begin to form on the egg....the white vinegar has begun to dissolve the eggshell.
 After about an hour, the egg began to float.
 The next day, and the next day....change out the vinegar with fresh white vinegar.
After only one day, the shell is mostly dissolved and the egg is squishy.
 After 7 days this is what our egg on the left looks like compared to a x-large egg on the right. (we started with a medium egg)  This is also a lesson about osmosis.  
"naked eggs", raw eggs and a plastic Easter Egg
If you look carefully in the sunshine, you can see the yolk sloshing around inside the egg.  The outer membrane is quite rubbery at this point, 
 but not so rubbery that is can't break with you drop it on the counter...poor Luke!
Kim's egg made is outside and
it can bounce...a few times.
 Luke dissecting his egg goo.
Kim's splatter....the yolk was almost like playdough.

Thursday, January 7, 2016

Borax Snowflakes

 We've started a unit about winter and snow...and hoping for some significant snow ourselves.  
I decided to help the kids make borax snowflakes.  
First you need to cut a pipe cleaner into three equal parts.  Bend into a 6 sided "snowflake".  Tie a string to the pipecleaners and the other side of the string to a pencil. 
 Make sure the edges of the pipecleaners don't touch the bottom or sides of the jar.
 You now need Borax and boiling water. 
 Add 2 cups of boiling water to the jar...stir in 6 tbls of borax.
 Stir....not all the borax will dissolve--it is a super saturated solution.
 Put your "snowflakes" into the jars...wait 24 hours.
 The next day we had crystals everywhere.
We were careful not to shake the jar as we carried them to the table. 
The big reveal!
 Amazing crystal snowflakes.
 Ta Da!!!!
These are very, very hard...and last a long time!

Wednesday, December 30, 2015

Breakfast Science....Iron in our Cereal

 Today was learned all about the vitamins and minerals in our food.  Especially the iron in our breakfast cereal.   
 We used Total cereal, which has 80% of the daily allowance of iron per serving..which is one cup. 
We put one cup of cereal in a good ziploc bag and add a cup or two of water.  Squish and mush and and turn the cereal to a soup. 
 When the cereal is dissolved run a strong magnet along the cereal...slowly, back and forth.  
Ta Da!!!  Real iron...right there in our cereal.  We next tried Chex cereal which has 40% of the daily allowance of iron...we only found a teeny tiny bit of iron in the cereal soup. 
Science rules!!

Monday, May 25, 2015

Water and Oil Art


 We had fun exploring with water and oil during art time recently.
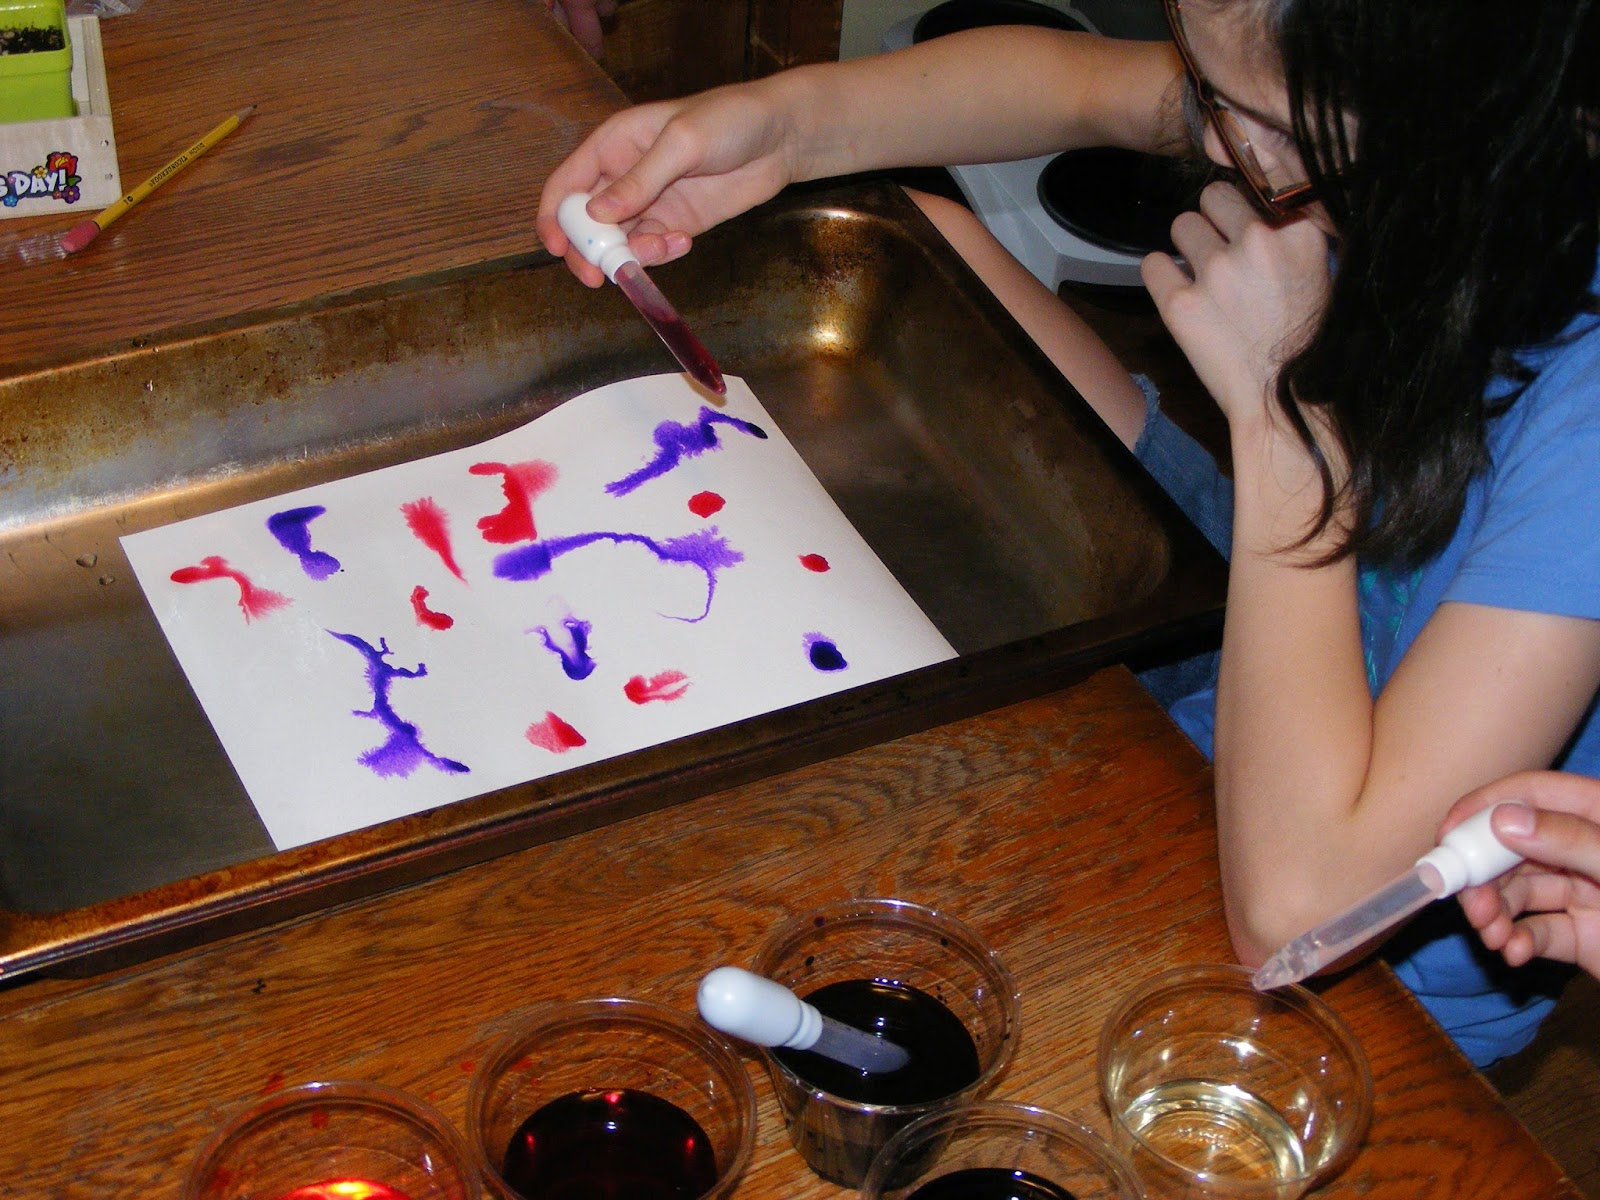
Using a medicine dropper we dropped water colors onto a dry sheet of watercolor paper. (I think the liquid watercolor is a must for this)
 The kids then dropped vegetable oil onto the paper.
(Place the paper on a cookie sheet or cake pan....it gets messy)
They enjoyed seeing the colors get "pushed around" by the oil. 
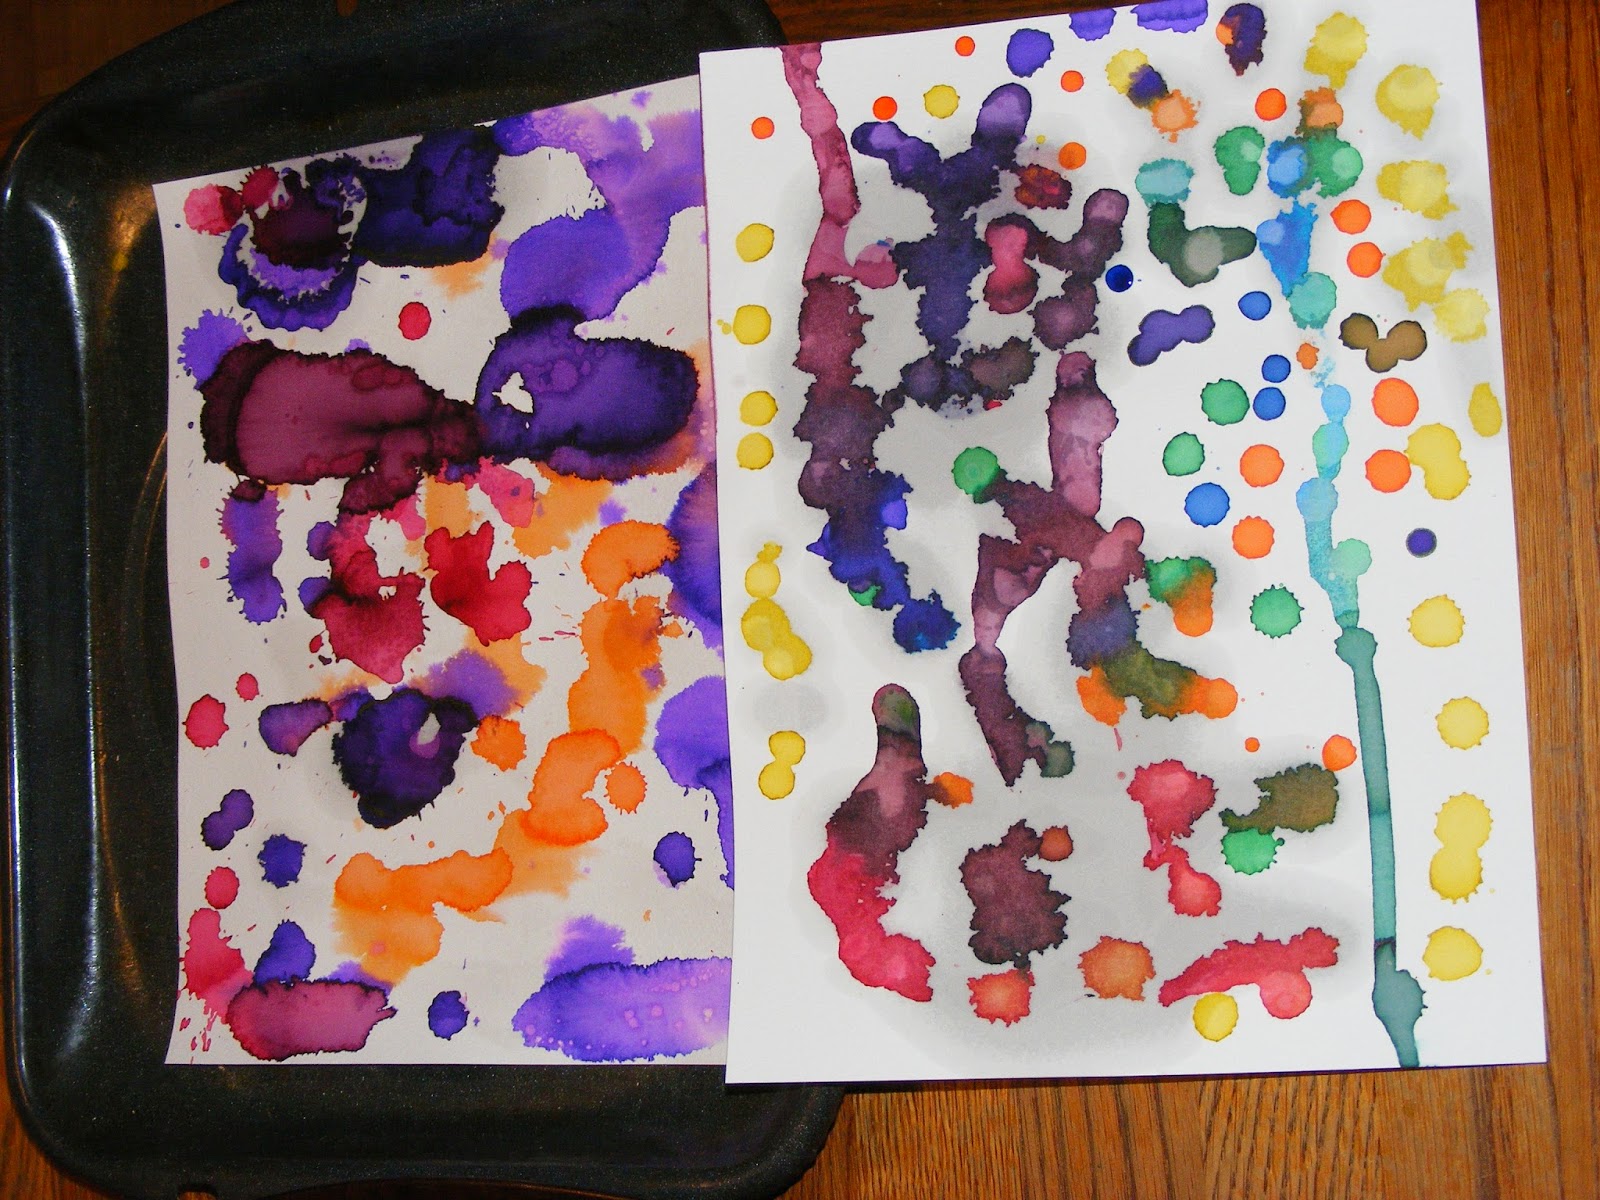
 We then dipped our paper into water before dropping on the colors...the colors spread and mixed, making for nice designs...
 After dropping the oil onto the wet paper we achieved very pretty mixing of the colors. 
The paper on the left was wet....on the right dry... These dried quicker than I thought they would. I thought the oil would slow down or prevent the paper from drying, but everything was dry in about 12 hours. 

Saturday, May 23, 2015

Happy Birthday, Roman Catholic Church!

Tomorrow is the Feast of Pentecost...the birthday of the Roman Catholic Church. 
We were inspired to make a Pentecost windsock from over at Shower of Roses
You should spend some time at Jessica's Blog...it is full of wonderful ideas of how to live your faith with your children day by day. 
Have a wonderful Sunday everyone!

Friday, May 22, 2015

Our Homemade Birdbath


Weekly Wrap-Up
I look at Pinterest occasionally ....(cough, cough).. and I saw cute terracotta bird baths.  I ended up combining several examples to complete a project completely our own. 
We used three terracotta planters....10 inch, 12 inch and 14 inch.  The base is 14 inches.
 Any craft or home paint will work for this project because you seal it with a spray on sealant.
Colorful jewels, dry grout and Liquid Nails finishes this project. 
 Laura and Kimberly were happy to paint.  Luke brushed a few strokes of paint on the base and then was done with this step. 
 We dotted our red pots with blue paint and foam "dot" brushes.  These were only about a dollar. 
 Our craft paint was MOSTLY washable!
 All stacked up...but not yet finished.
We sealed each pot with a spray on outdoor sealant. We used about three coats of sealant. 
This step is best done outdoors.  I had various "jewels" in our craft supplies, using Goop glue, I placed a bit of glue onto the base and then the kids put a jewel on the base with a Popsicle stick.  The glue has a very strong smell, so do this step outside or in a very well ventilated area.   
Continue gluing down jewels until the
 base is covered as much as you wish. 
We left the base to dry for 2 days, making sure the glue was totally set. 
 Mix grout in a throw away container. 
 Smush it between the jewels.  We had a container of fast drying grout so we had to move pretty fast. 
 After completely covered, using a sponge, gently wipe away the excess grout.  
We then allowed the grout to set for 2 days.
 Kim and Luke enjoyed polishing the jewels.  
 They used a paper towel, a tiny bit of water and a lot of elbow grease. 
 Daddy taught the kids to use Liquid Nails and a caulk gun.
 This was also allowed to dry for a couple hours. 
 Filling the birdbath!
 I planned on having it out back with the bird feeders, but it came out so cute, the big kids insisted it remain in the front yard. 
Ready for the birds to take a dip!