Showing posts with label pumpkins. Show all posts

Sunday, October 11, 2015

Luke's Melted Crayon Ghost Pumpkins--Halloween decorating

 Luke got started on his melted crayon pumpkin by hot gluing the crayons to the top of the pumpkin.  (we learded to let the pumpkin warn up...it's been in the 30's at night around here..The cold temps make the hot glue dry so quickly it couldn't allow the crayons to stick to it.)
Luke getting started
It takes some time for the crayons to start melting, once they start it's great fun to watch the little wax trails.
The Kimberly photo of the day
Luke did a great job...he spent a lot of time working on his pumpkin.  This is just about the point where he passed the blowdryer on to me to finish up. 
We also made some grocery bag ghosts to hang on the apple tree.
Gracie made some foamie bats...we used daddy's fishing line to hang everything to the front trees...shhhhhh.....
Our decorations wouldn't be complete without Luke's gourd in the tree...(I'm not sure why, but we are not to move this per Luke's orders)
Luke's apple tree
Spooky!!
Kimberly and Luke's finished pumpkins.

Thursday, October 8, 2015

Melted Crayon Pumpkin

 This was a great craft for Kimberly while she is in the wheel chair.
And it turned out so cute, I was very please.
Start with a ghost pumpkin.  
crayons (crayola) with the labels pealed off 
a hot glue gun...or a strong quick acting glue
a blow dryer
 Glue the crayons to the top of the pumpkin ( our pumpkin was cold from being outside...we needed to let it warm up for the hot glue to do its job.)
 Do the next step outside.  ( the crayon wax can spatter about)
Set the blow dryer on the hottest setting and have at it. 
 The crayons start melting.  You need to find a good angle for this or you will be spraying crayon all over everything. 
 Keep up the good work....after the crayons have begun melting we turned the blow dryer to a lower setting. 
Kimberly's final product....I just love this.  I believe it will be a new tradition. 
I can imagine how cute this would be with different color combination.
All one color of different shades...l
Rainbow colors around the pumpkin...and anything else we can think of....
We have 2 more ghost pumpkins to try this technique...I look forward to what Grace and Luke decide to do!

Friday, October 18, 2013

"How Many Seeds in a Pumpkin?"-Fun with books

 We haven't enjoyed this book since 2009....you can check out those posts over  here.
I can't believe how little the kids look in the old posts.
Well, I got How Many Seeds in a Pumpkin?.  Kim and Luke do not remember this book, so it was fun to have them guess at the outcome of the story. (They didn't guess correctly).
After reading the story we got busy counting our own pumpkin seeds...(and preparing to make a pumpkin pie from a real pumpkin..not a can.
 The first step was to get the seeds out of the pumpkins.
 I eventually cut the pumpkins in half.  For ease of seed removal and also because we are going to cook the pumpkins in the oven to make pie.
 Looking back at the photos from 5 years ago...Luke wouldn't even touch the "pumpkin guts"
 This year he made a pumpkin pulp bomb....which he took outside and splattered against a tree.
 We kept each kids' pumpkin seeds separated.  Kim guessed her pumpkin would have 300 seeds.  Luke guessed 500 seeds.  After scooping our seeds we wanted to dry them out.  Amy looked up recipes for roasted pumpkin seeds....she found a good one.  Nothing goes to waste in this house.
 Kim and Luke both decided to put their seeds into groups of ten for ease of counting.
There were A LOT of seeds, but Luke was the winner with 412 seeds.  Kim had 375.  Both came close to their guesses...I was very impressed.

Sunday, October 28, 2012

Sunday, October 18, 2009

Simply Made Sunday-- Pumpkin Pie

This week it was pumpkin pie, made from real pumpkins!

We read a lot of pumpkin books this week and did an activity to go along with the book

How Many Seeds in a Pumpkin?

You can check out that fun in our stART post.

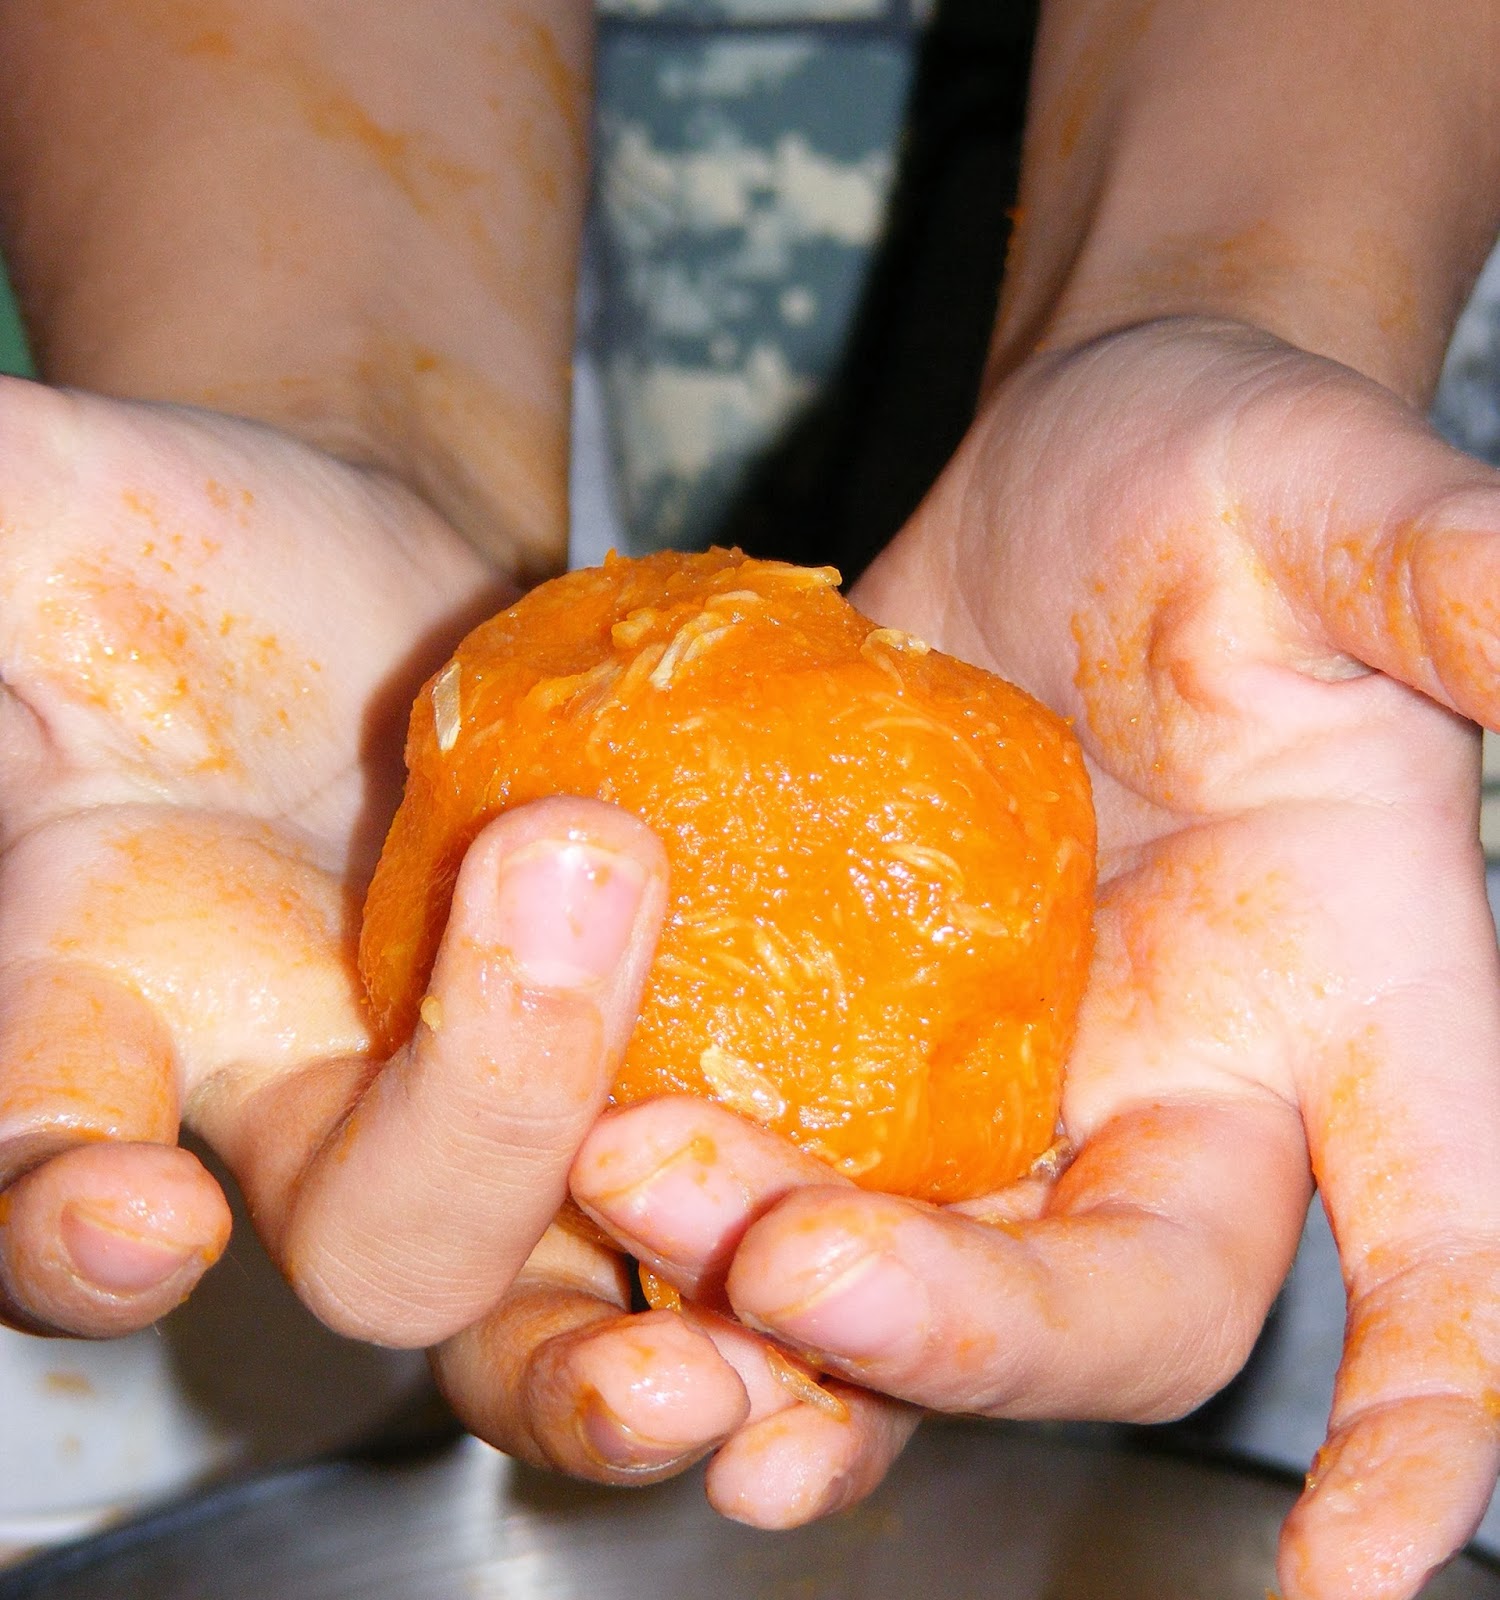
The whole "cleaning out the pumpkin" thing was very exciting!

Luke wouldn't touch the pumpkin pulp.

Kimmy washed her hands in the pumpkin pulp!

After the pulp and seeds were all cleaned out of the pumpkins, we wrapped them in foil.

Place on a cookie sheet and bake in a 350 degree oven for about an hour, until the pumpkin is "fork" (or knife) tender.


Allow to cool enough handle and scoop out.

Get the pie crust ready. We used store pie crust since I was getting tired making pumpkin mash.

Smash that pumpkin---Gracie did a great job with this.

This recipe is from the old fashioned red and white Betty Crocker cookbook.

This recipe is for one 9 inch pie. We doubled this.


Pumpkin Pie
1 3/4 cup cooked mashed pumpkin

1/2 tsp. salt

1 3/4 cup milk

2 large eggs

2/3 cup brown sugar

2 Tbls sugar

1 1/4 tsp. cinnamon

1/2 tsp. ginger

1/2 tsp. nutmeg

1/4 tsp. cloves

Gracie is now my number one egg cracker---she cracked 4 out of 4 eggs today with no shells!

She thought it was fun to use the pumpkin shell as her bowl.

Add all the ingredients to the bowl of pumpkin

and mix.

We then used the hand mixed to get the ingredients mixed completely.

Put this into your pie shells.

Bake at 425 degrees for about 45 to 55 minutes.

I always bake my pumpkin pie until I can see the the center is cooked and bubbling, almost as if boiling.

Let cool--

the house smells like autumn heaven at this point.

We like our pumpkin pie with whipped cream and cheddar cheese.

Make sure to check out all the Simply Made Sunday-In the Kitchen with Mom fun this week.