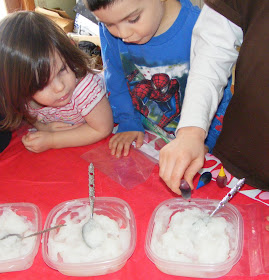
 I have seen this activity done for mess-free finger painting, but I thought it would also be a good way to show color mixing.
Mark finished off the mixing to make sure the colors were well blended.
I placed a big spoonful of each of the three colors into a ziplock bag. I then sealed the bag with packing tape (or you can use duct tape).
I showed the kids how to carefully blend the colors to make new colors. This kept them busy for a quite a while. (A very good thing.) It is a real neat feeling pushing the colors around in the bags.
Of course, it wouldn't be real fun if it didn't involve a little silliness.
We practiced writing letters and shapes in our paint. You can see above how cool the blending becomes after you work with it for a while. Our littlest learners also picked out and named colors as we did this activity.
Of course, if you are nine years old, and are really, really good at blending we discovered you get the color brown.
Hands on learning is definitely the best.
Make sure you go and visit all the great color activities at this weeks Unplugged website.


Very cool. I liked the brown handprint one. :0)
ReplyDeleteWhat a way to practice writing letters! I really like that it squishy, but not messy.
ReplyDeleteVery cool activity. I will have to try it.
ReplyDeleteThat's so pretty, thanks for the recipe!
ReplyDeleteGreat activity!! We're definitely going to do this for some fun letter writing. :)
ReplyDeletegreat stuff! we love rainbow stew!!!
ReplyDeleteOh yeah, we can do this! What a great idea and a great way to practice writing!
ReplyDeleteThanks for the Finger Paint Base recipe. Your project was a great success.
ReplyDeleteOhhhh. Nice! Welcome to the Unplugged project!
ReplyDeleteLove how these turned out! My daughter and I did something similar but with a lot less paint and a piece of paper instead. Gonna have to try this one out though! I featured your idea on my blog post: http://www.needlesandbows.com/2013/10/mess-free-finger-painting/
ReplyDelete